background introduction:
Originally an open-source project developed by IBM in late 2013 to meet their needs to quickly connect hardware and devices to web services and other software-as a glue for the Internet of Things-it quickly evolved into a general purpose Internet of Things Programming Tools. Node-RED is a powerful tool for building IoT applications, with a focus on simplifying the “connection” of code blocks to perform tasks. It uses a visual programming approach that allows developers to connect predefined blocks of code (also called “nodes”) to perform tasks.
Features:
• A composite IoT application tool
• Lightweight and can run with various embedded platforms
• Create tasks quickly and easily
• Quickly expand and add new features
• Bonding with various social applications/vendors
• Fully open source
Function:
Connect and control smart home equipment with cloud platform, remote monitoring equipment.
Router installs node-red
Node-red has been integrated into the router, here are some examples of applications.
For users with S1300 devices, you have two ways to use node-red.
Method 1: Upgrade the firmware: qsdk-s1300-3.029-0104-node-red.img
Method 2: Install the software package
Open the luci interface and add the following in the bottom box and then click submit. :
src/gz glinet_nodered http://download.gl-inet.com/releases/packages-3.x/ipq40xx/nodered

Or open the background and enter the command:
echo src/gz glinet_nodered http://download.gl-inet.com/releases/packages-3.x/ipq40xx/nodered >> /etc/opkg/distfeeds.conf
Now you can update and install node-red
opkg update
opkg install node-node-red node-red-gl-ble node-red-gl-call-mqtt gl-bletool
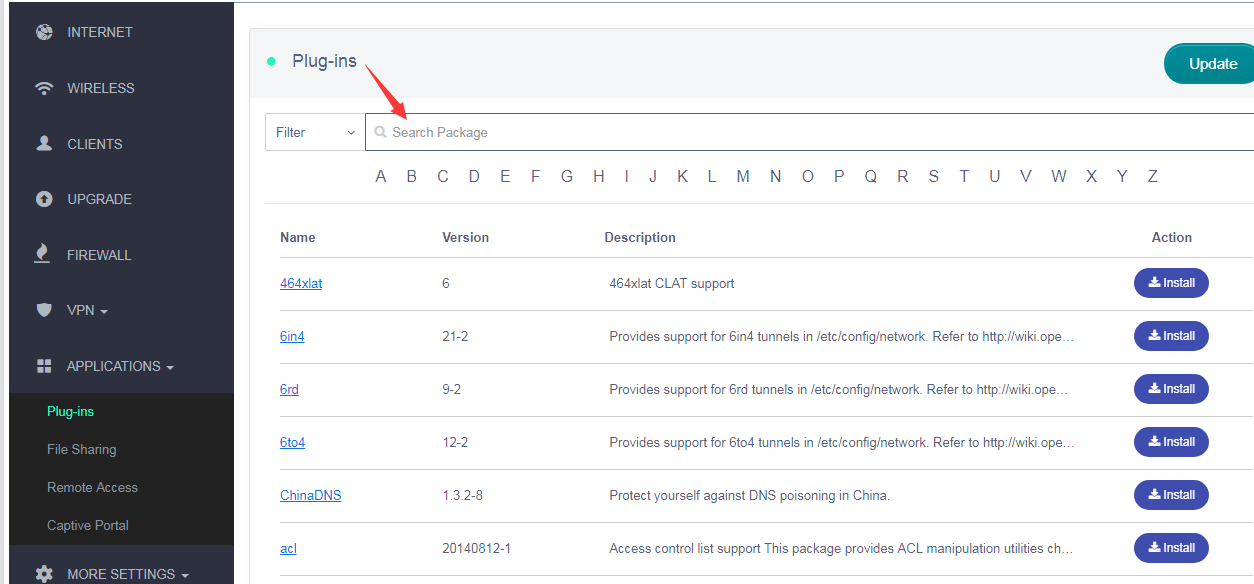
You can also choose to install these packages on the web
Add a boot item to the luci-> system->startup-> Local Startup and restart the device

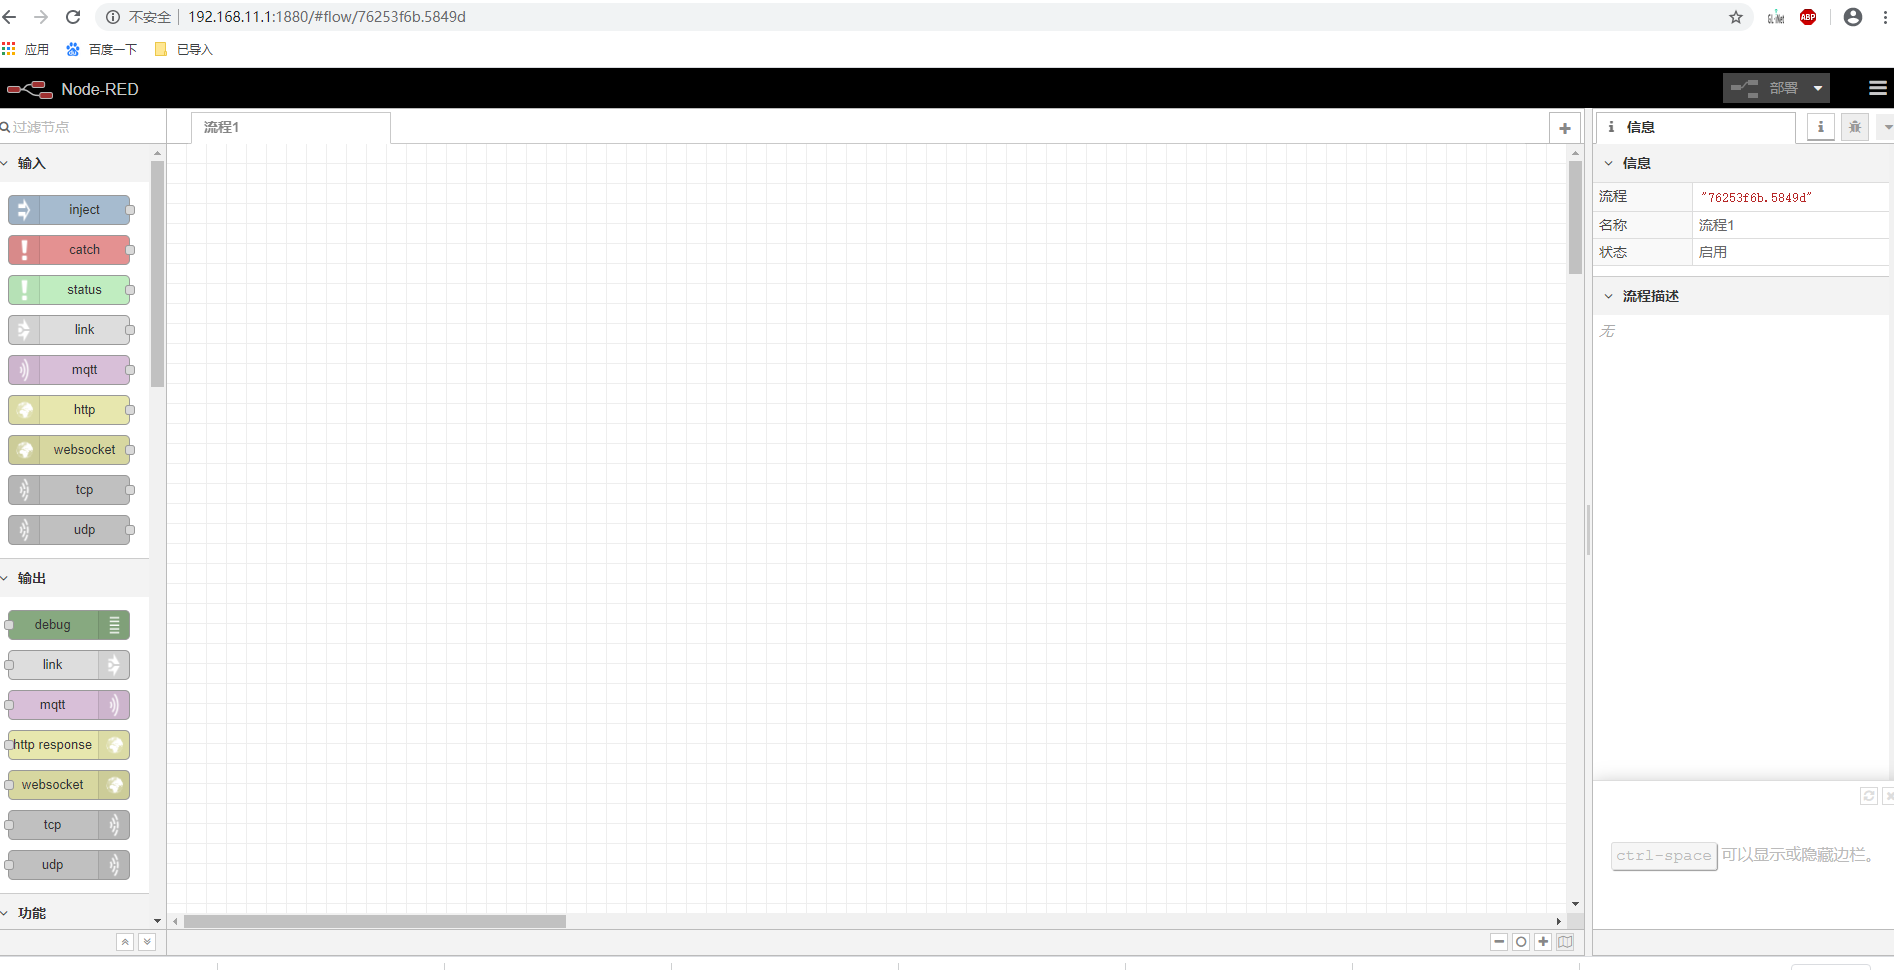
After the system restart is complete, you can access node-red through 192.168.8.8.1:1880 (please replace 192.168.8.1 with your own gateway).
First flow
Refer to node-red’s official documentation Creating your first flow : Node-RED
Interface function

On the left side of the interface are some default function nodes. In the node management on the right menu bar, you can search for and install other nodes, or you can use the command to install npm install + nodename in the background.
You can find the details of other nodes at https://flows.nodered.org/ and visit the github where they are located to download the source code, and install the local node using the command npm install + node folder name
Flows import and export
You can try copying the following to the menu bar’s Import-> Clipboard
[{"id":"58ffae9d.a7005","type":"debug","name":"","active":true,"complete":false,"x":640,"y":200,"wires":[]},{"id":"17626462.e89d9c","type":"inject","name":"","topic":"","payload":"","repeat":"","once":false,"x":240,"y":200,"wires":[["2921667d.d6de9a"]]},{"id":"2921667d.d6de9a","type":"function","name":"Format timestamp","func":"// Create a Date object from the payload\nvar date = new Date(msg.payload);\n// Change the payload to be a formatted Date string\nmsg.payload = date.toString();\n// Return the message so it can be sent on\nreturn msg;","outputs":1,"x":440,"y":200,"wires":[["58ffae9d.a7005"]]}]

After the import is successful, the edit page is displayed as follows:
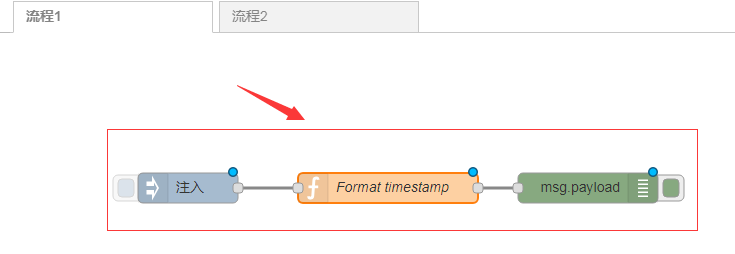
Click the deploy button in the upper right corner to launch the program. This is a simple example. After deployment, click the button on the input side, and the time stamp will be output on the right.

Some examples on S1300
Currently encapsulates the data upload cloud platform nodes, controls the Bluetooth bletool node, Here are some flows that can be imported directly into the node-red editing interface for reference.s1300-node-flows.zip (13.4 KB)
-
Connect to the sonos speaker
First, search and install Sonos

Then copy the contents of the sonos.json file to the menu bar’s Import-> Clipboard, you need to double-click the Sonos node to modify your Sonos information.


Finally, click the deploy button in the upper right corner to launch the program.
-
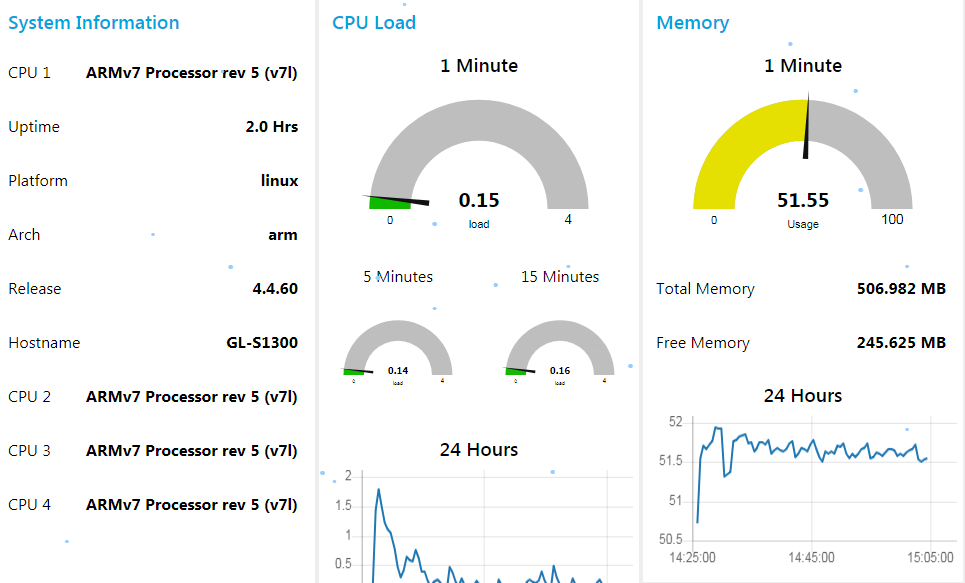
System load dashboard display
First, search and install node-red-dashboard and node-red-contrib-os
Then copy the contents of the system .json file to the menu bar’s Import-> Clipboard.
Finally, click the deploy button in the upper right corner to launch the program. Open
http://192.168.8.1:1880/ui , you will see the following information.
-
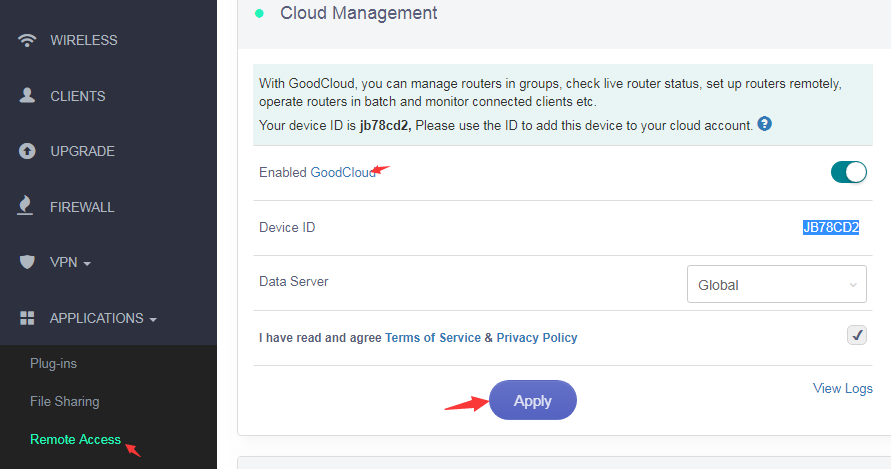
Send message to GL goodcloud
First, open http://192.168.8.1:1880 and bind your device.

Then copy the contents of the cloud .json file to the menu bar’s Import-> Clipboard.
Click the deploy button in the upper right corner and finally, click the msg button to launch the program. You can also set timed loop sending.

You will see your message on the cloud:
