How to Configure a "Not Use VPN" Policy on Firmware v4.9
Introduction
In firmware v4.8, the VPN Policy page allowed users to create rules with the routing method set to Not Use VPN. This was useful when you wanted most traffic to go through a VPN tunnel while allowing specific devices, domains, interfaces, or IP ranges to access the Internet directly through the WAN connection.
Starting from firmware v4.9, the VPN subsystem has been redesigned. The previous Not Use VPN mode conflicts with the VPN design logic introduced in v4.9. As a result, this mode was removed from the GUI.
This guide introduces several practical methods to achieve similar behavior on firmware v4.9.
Note: If you already have existing Not Use VPN policies configured on firmware v4.8, they will be preserved after upgrading to firmware v4.9 (when keeping your configuration during the upgrade process). No additional reconfiguration is required.
Method 1 (Recommended): Change the Route Policy to novpn via SSH
This is the recommended method for configuring a Not Use VPN policy on firmware v4.9.
Step 1: Create Your VPN Dashboard Rules
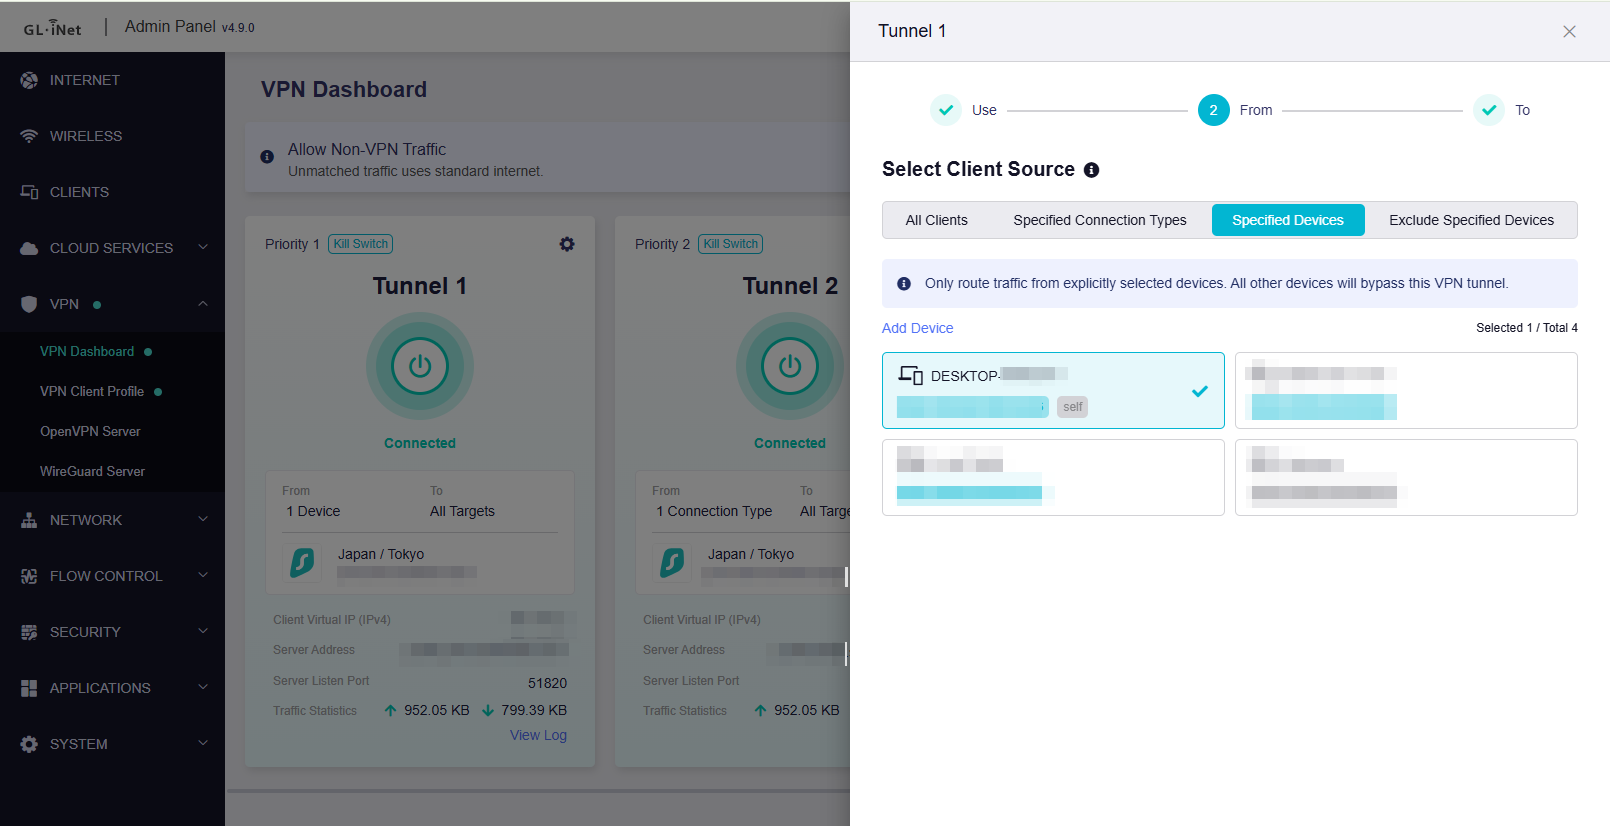
First, create all required VPN Dashboard tunnels and policies in Admin Panel → VPN → VPN Dashboard.
For the tunnel that should behave as Not Use VPN, temporarily select any available VPN profile.
Example scenario:
-
Tunnel 1: One device on the Main LAN network should bypass VPN.
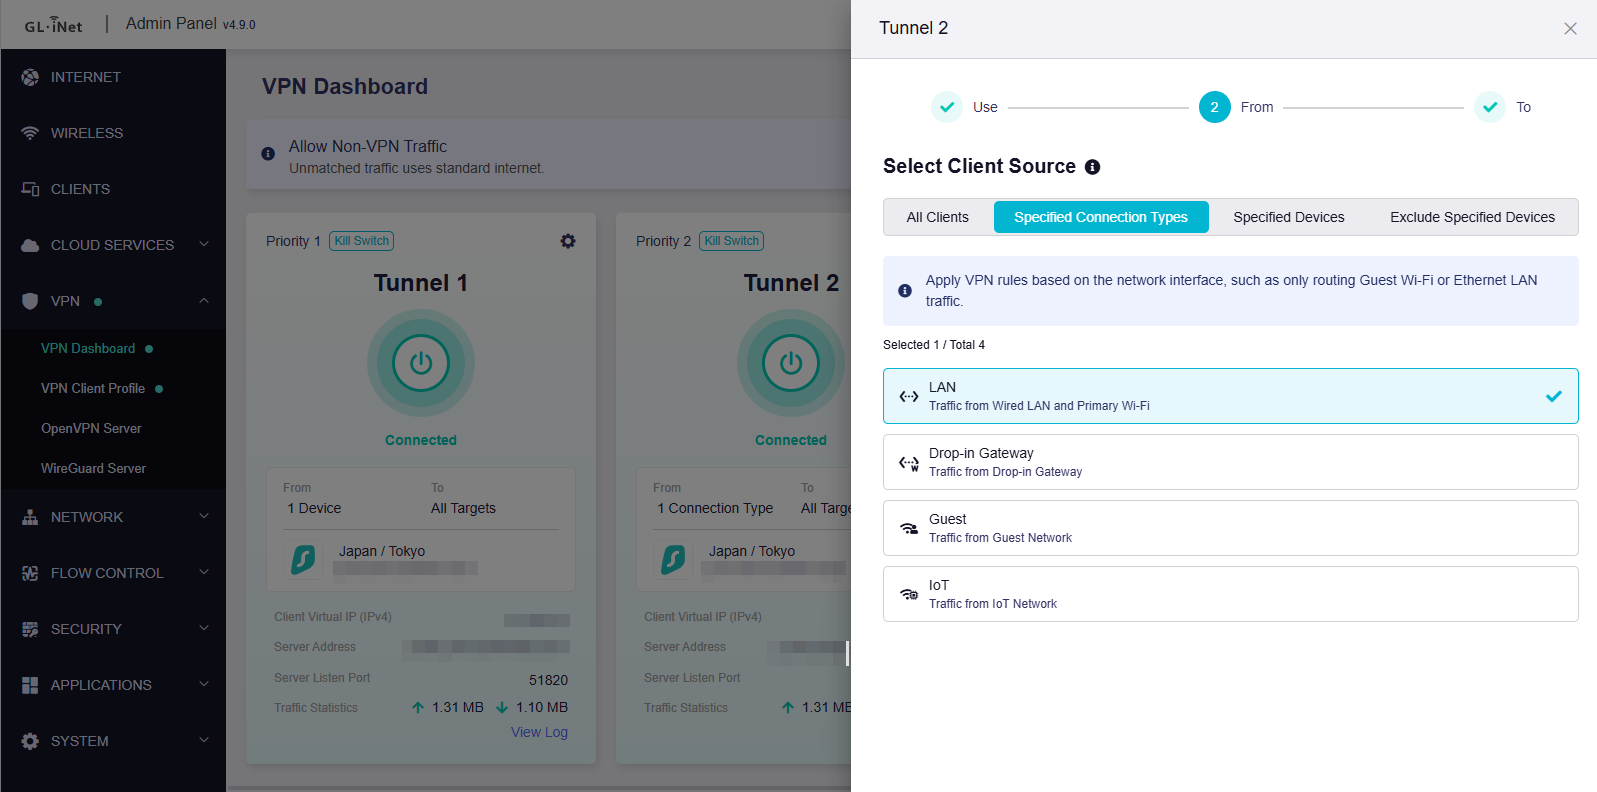
-
Tunnel 2: All remaining devices on the Main LAN network should use VPN.
-
Guest and IoT networks should continue using the WAN connection normally.
Step 2: Connect to the Router via SSH
Follow the guide below to log in to the router using SSH:
Step 3: Modify the Tunnel Route Policy
Run the following commands to change the tunnel with Priority 1 into a Not Use VPN policy:
uci set route_policy.@rule[0].via_type='novpn'
uci commit route_policy

/etc/init.d/vpn-client restart
If your target tunnel uses a different priority, adjust the rule index accordingly:
@rule[0] = Priority 1
@rule[1] = Priority 2
@rule[2] = Priority 3
@rule[3] = Priority 4
@rule[4] = Priority 5
Step 4: Verify the Configuration
Return to the VPN Dashboard and confirm that the tunnel now displays Not Use VPN as its routing method.
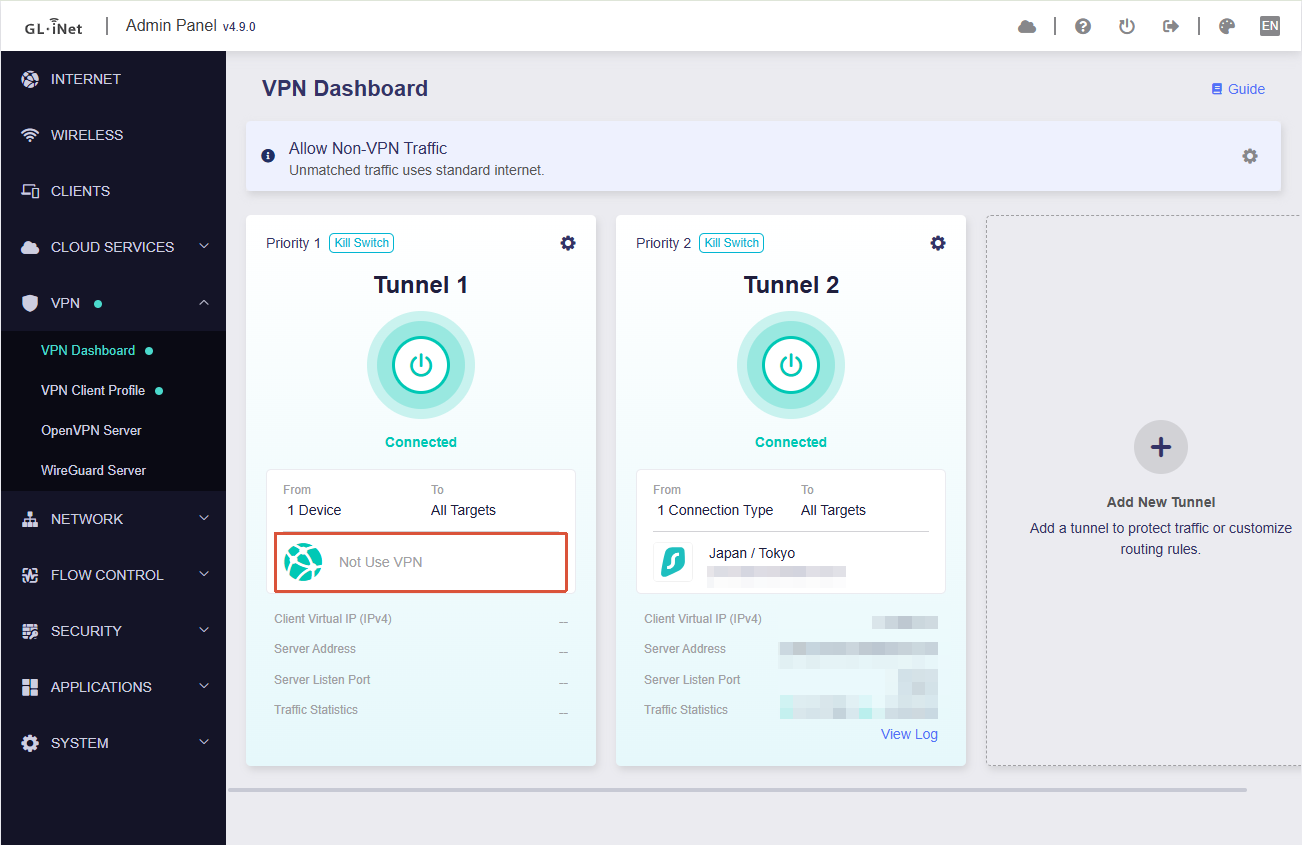
Step 5: Test the Result
Verify that:
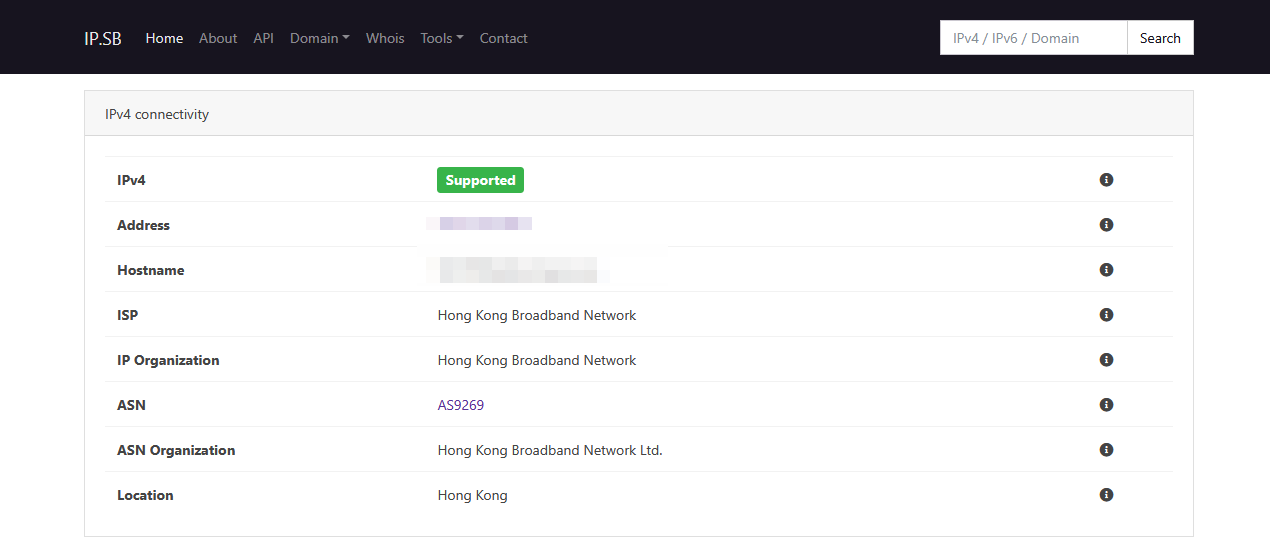
-
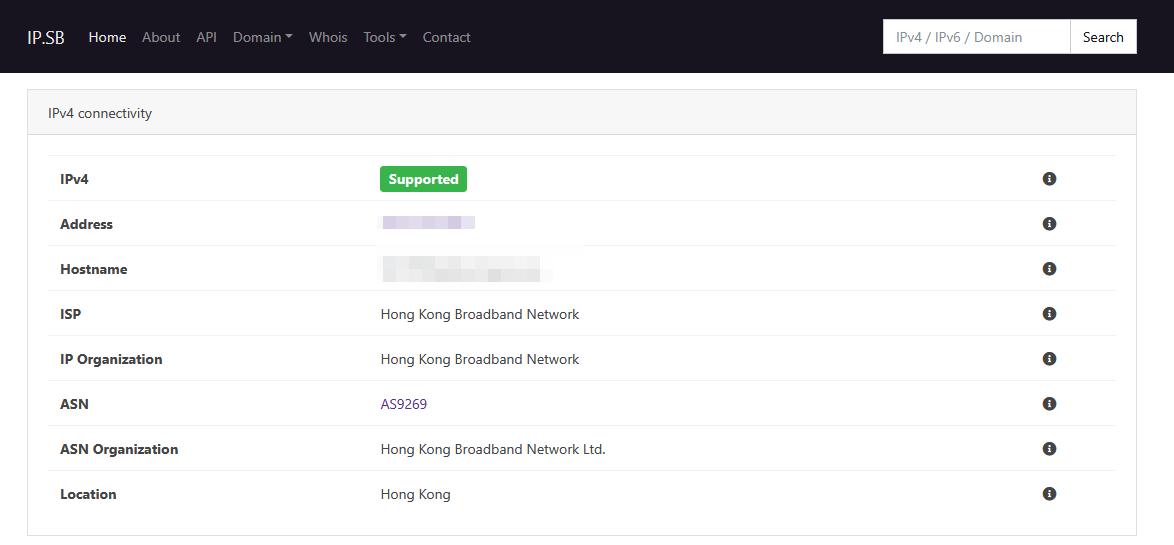
The device assigned to the Not Use VPN tunnel uses the WAN public IP address.
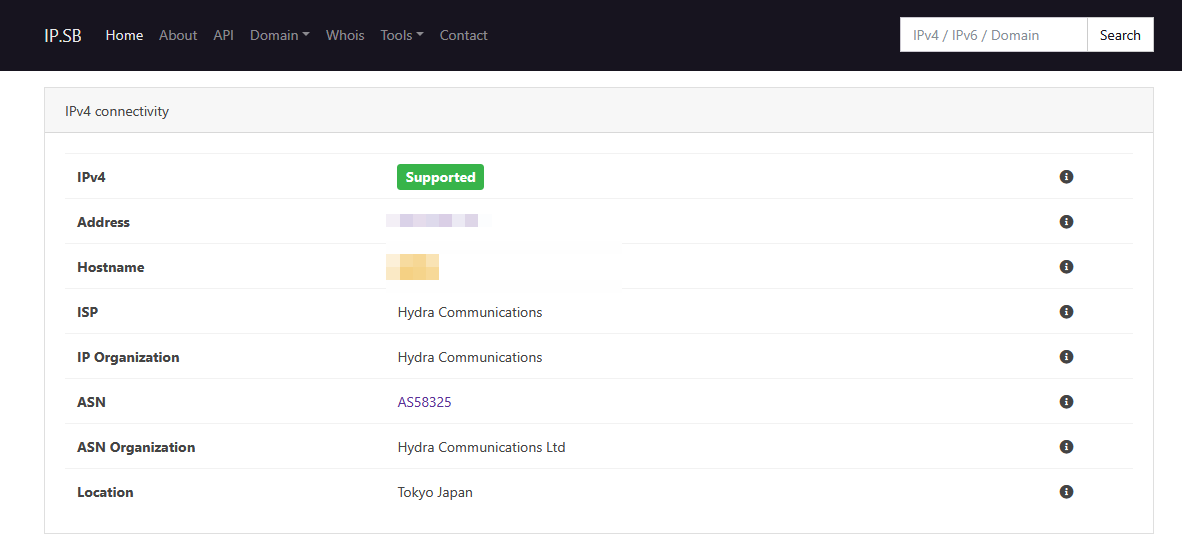
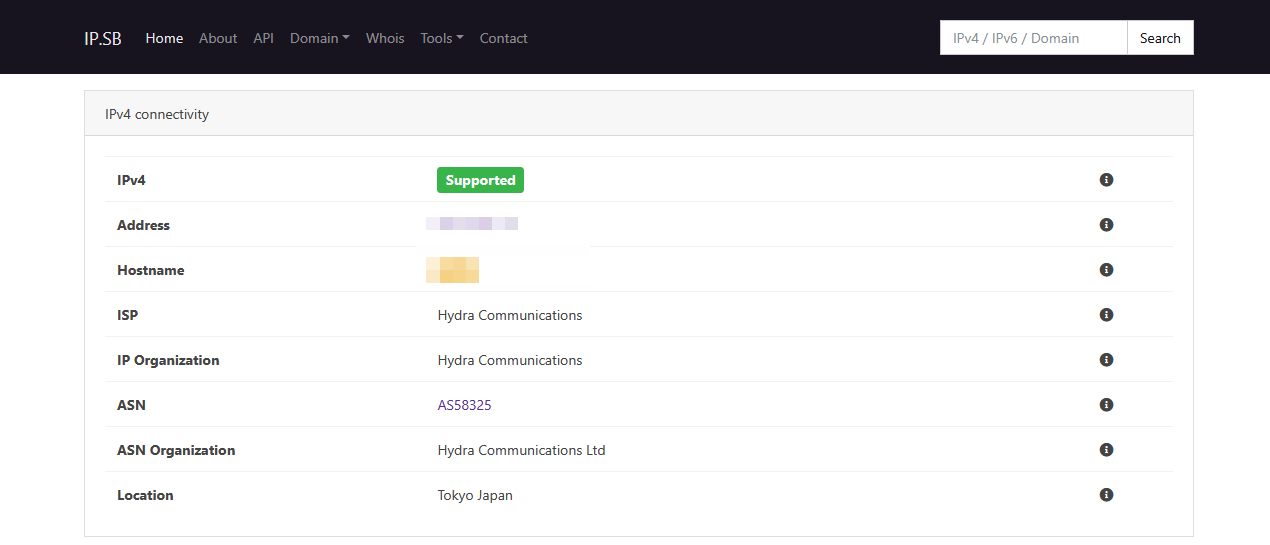
-
Other devices assigned to VPN tunnels continue using the VPN public IP address.
Method 2: Use a Non-Functional WireGuard Profile as a WAN Fallback
How this works:
This method takes advantage of the fallback behavior that occurs when a WireGuard client cannot establish a connection while:
- Kill Switch is disabled, and
- All Other Traffic Policy is set to Allow Non-VPN Traffic.
In this situation, matched traffic will automatically fall back to the WAN connection.
Important Notes
-
This method is only recommended for users who are not comfortable using SSH.
-
Since the WireGuard profile is intentionally invalid, the system log will continuously contain WireGuard connection error messages.
Step 1: Create an Invalid WireGuard Profile
You may create your own invalid WireGuard configuration or use the example below:
[Interface]
Address = 10.255.0.2/24
PrivateKey = sEl23GPd5tIb354D4fPew0Nat/i5a0szYsAH7MbF4Ek=
MTU = 1420

[Peer]
AllowedIPs = 0.0.0.0/32
Endpoint = 127.0.0.2:65535
PersistentKeepalive = 25
PublicKey = FcJBtXXGyrBaGUEAIfrruo/HJRPZf2X/DgOefStxWGo=
You may also download and import the attached profile directly:
novpn.conf (256 Bytes)
Step 2: Import the WireGuard Profile
Import the configuration as a WireGuard Client profile by following the guide below:
Step 3: Assign the Profile to the Desired Tunnel
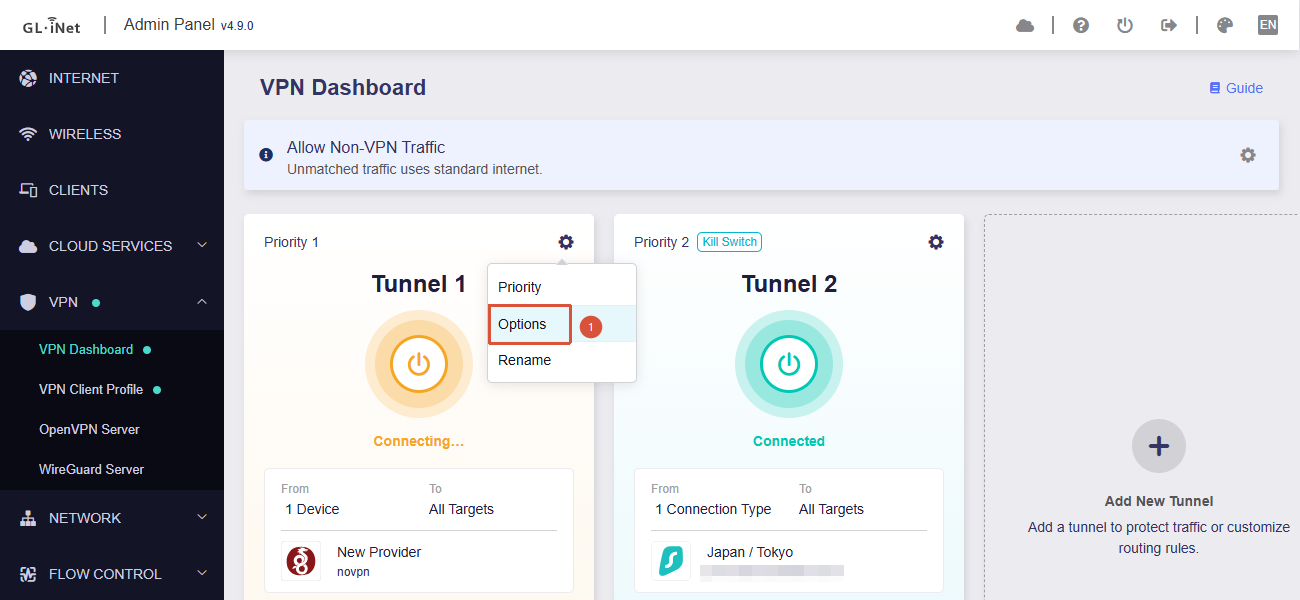
In the VPN Dashboard:
-
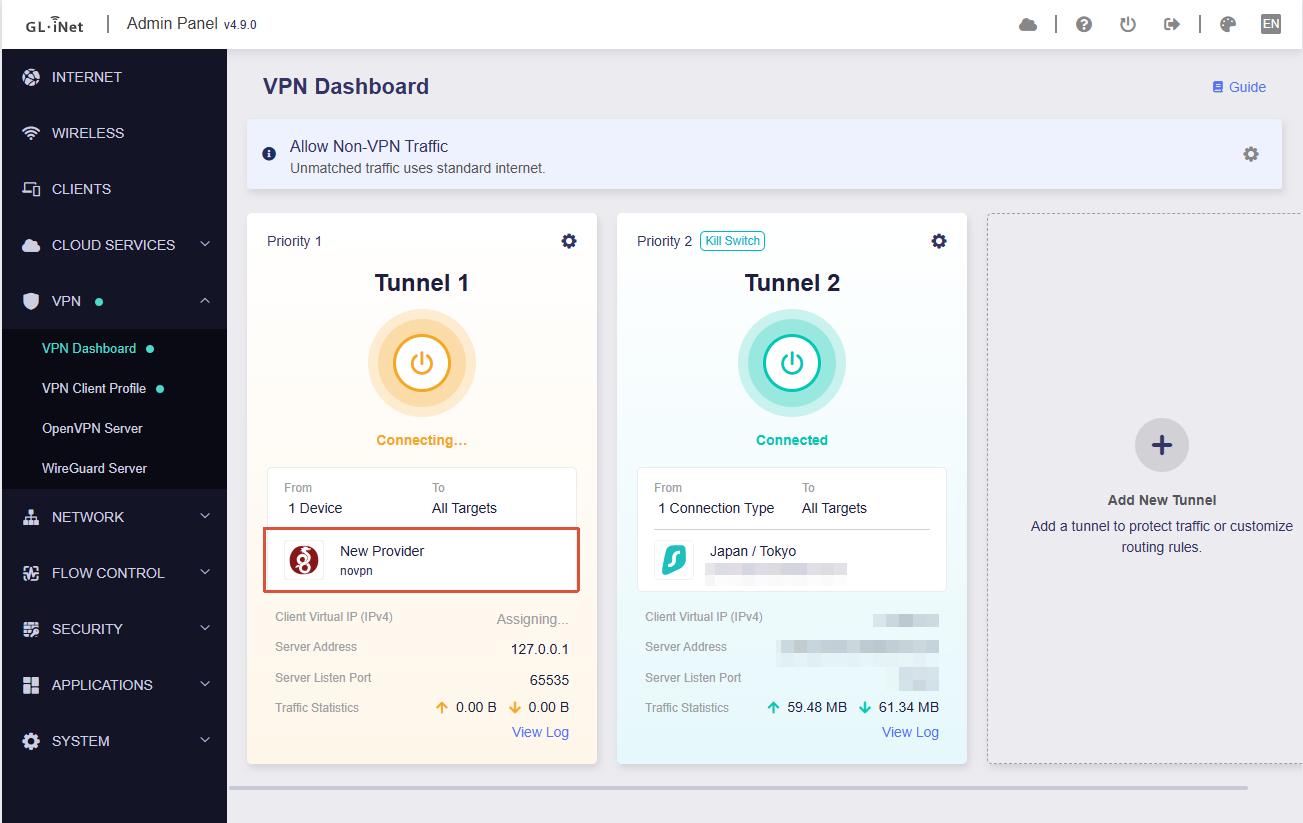
Select the imported invalid WireGuard profile for the tunnel that should behave as Not Use VPN.
-
Enable the tunnel.
Important: Do not configure any fallback VPN profiles within this tunnel group. Otherwise, the traffic may switch to another VPN profile instead of falling back to WAN.
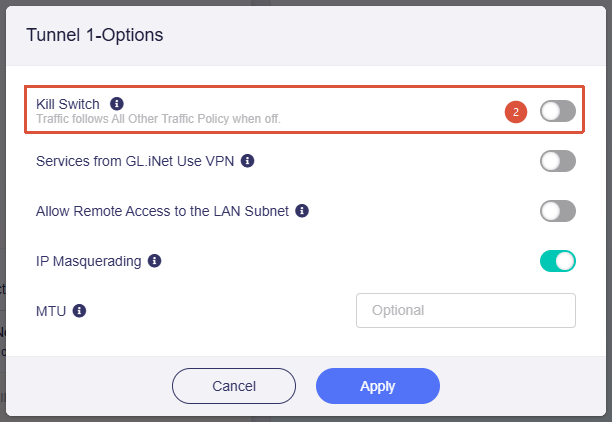
Step 4: Disable Kill Switch
Open the tunnel settings and disable Kill Switch.
This is required to allow traffic to continue using WAN when the VPN connection fails.
Step 5: Allow Non-VPN Traffic
Navigate to the global VPN settings and ensure:
All Other Traffic Policy = Allow Non-VPN Traffic
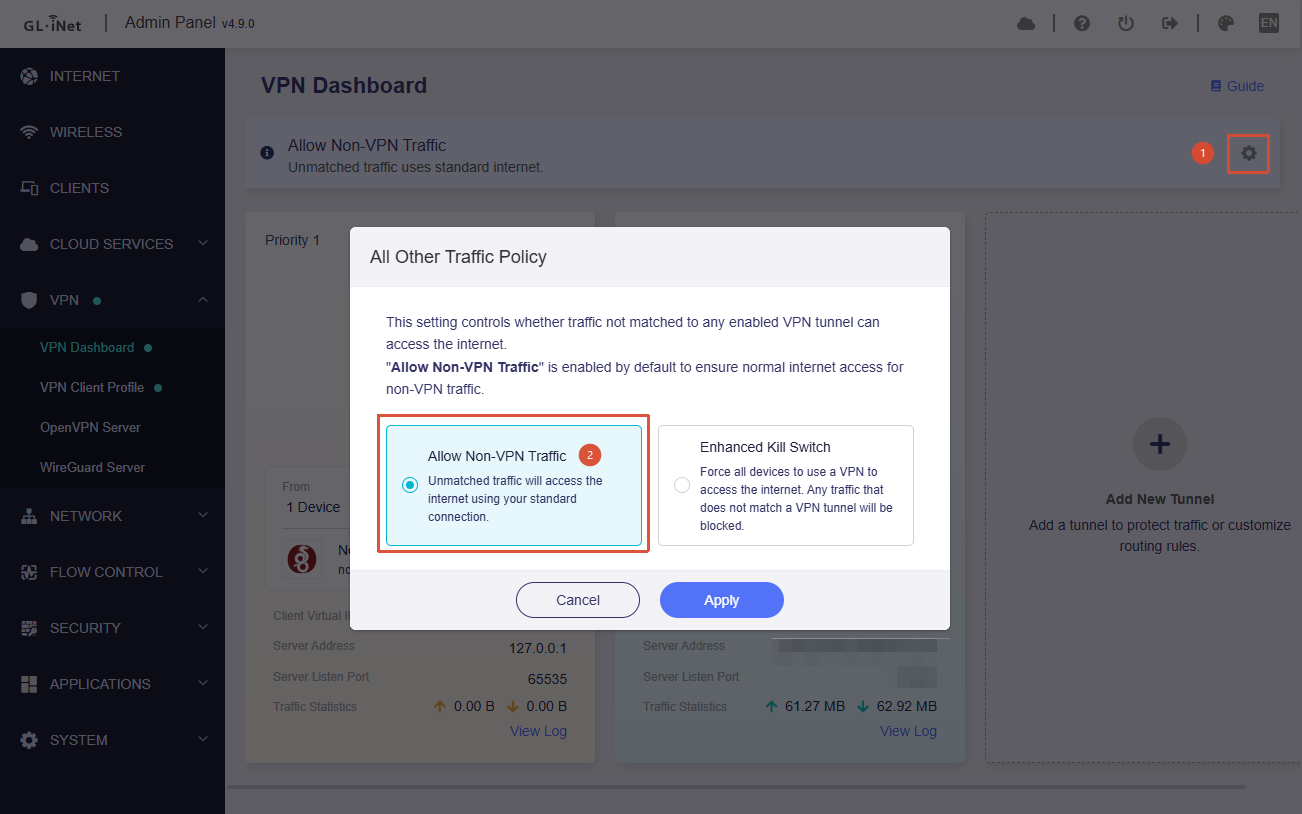
When the invalid WireGuard profile fails to connect, matched traffic will automatically use the WAN connection.
Verification
After configuration:
-
Devices assigned to the special tunnel should access the Internet through the WAN connection.
-
Devices assigned to other VPN tunnels should continue using their respective VPN connections.
-
VPN Dashboard status may show the invalid WireGuard profile as Connecting, which is expected behavior for this workaround.