Hello,
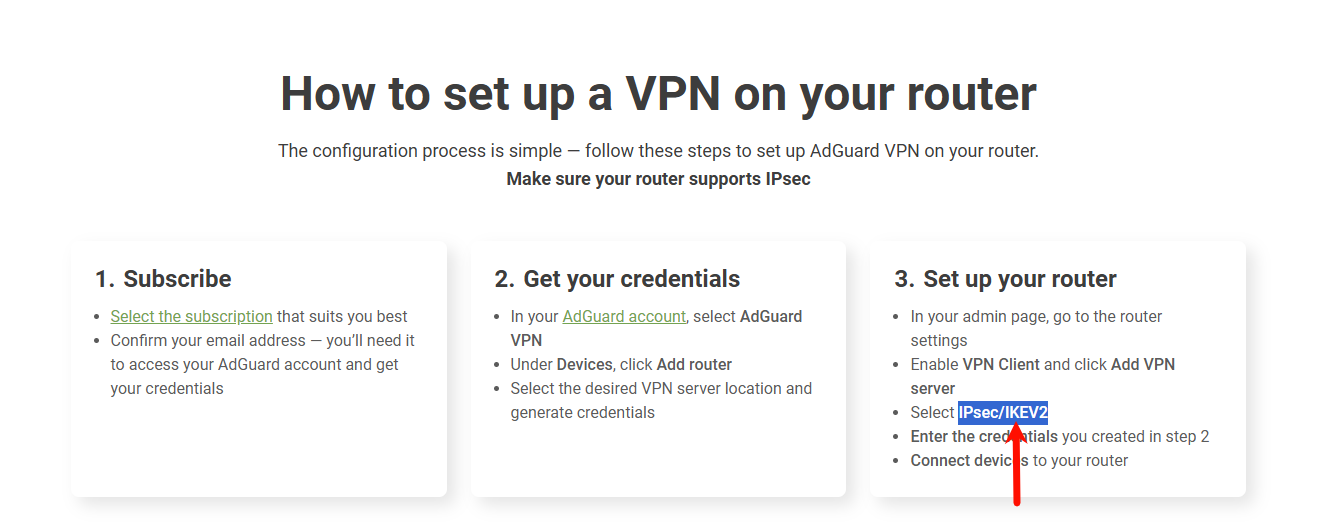
Learn from ADGuard VPN official website, the ADGuard VPN does not support OpenVPN & WireGuard VPN protocol, but the IPsec/IKEV2, so it cannot directly run in the GL GUI/Admin Panel.
But ADGuard VPN provides an official docs, so we found a way to get it running on a GL.iNet router.
This tutorial is suitable for users with Linux base and only want to use AdGuard VPN, as AdGuard VPN on OpenWRT router does not provide the GUI/Luci, all operations require in SSH with CLI.
We recommend you use the supported VPN service provider on the GL GUI, or other service provider that supports OpenVPN & WireGuard VPN protocol and upload VPN profiles in GL GUI, so that you will get a simpler, faster and more secure VPN connection.
OK, if you've confirmed that considered it, so let's start!
This tutorial will guide you how to install and use ADGuard VPN on GL router, example model is MT3000/Beryl AX with firmware v4.8.x (closed source). Other models and the v4.7.x are also supported in theory.
1. SSH to your router
2. Update the warehouse and install related packages
opkg update && opkg install curl kmod-tun ca-certificates
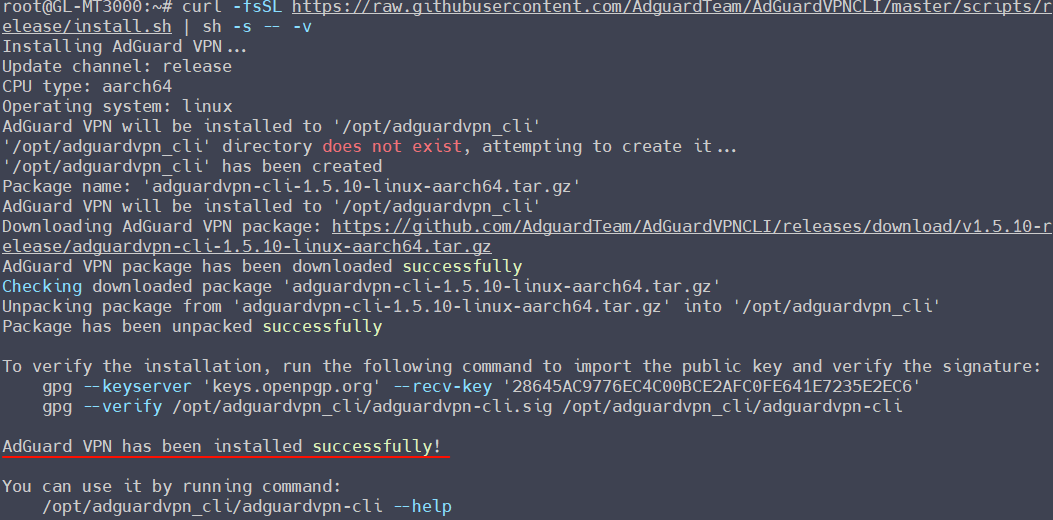
3. In SSH, install the AdGuard VPN CLI via script:
curl -fsSL https://raw.githubusercontent.com/AdguardTeam/AdGuardVPNCLI/master/scripts/release/install.sh | sh -s -- -v
If AdGuard VPN has been installed successfully! is displayed, the installation is completed:
3. Link the CLI /opt/adguardvpn_cli/adguardvpn-cli to /usr/local/bin:
ln -sf /opt/adguardvpn_cli/adguardvpn-cli /usr/bin/
Note: If this step is not executed, you required to use the full file path to run all commands, for example: /opt/adguardvpn_cli/adguardvpn-cli login.
4. Log in to your ADGuard VPN account for router
4.1. In the SSH, and execute:
adguardvpn-cli login

4.2 It will appear a unique URL, for examplehttps://auth.adguard.io/device_code?user_code=****-QMFC, copy the URL and access it in the browser of PC:
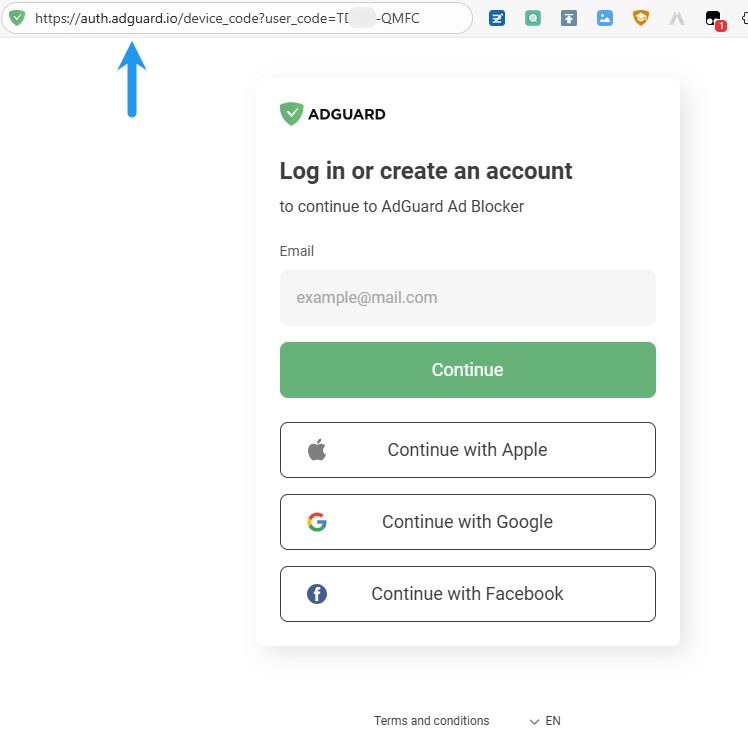
4.3 Complete to log in to your AdGuard VPN account:

4.4 Back to router SSH window, wait for this round of timer to end, it will appear Successfully Logged in.

5. Connect to the VPN server (Choose one of 5.1 or 5.2)
5.1. Quick Connect
If you don't require to choose a server in a specific location, it will automatically choose the fastest server:
adguardvpn-cli connect
If ask to set up some configurations, please type yes and enter.

When the Successfully Connected to xxxx appears, indicating that the VPN server is connected successful.
5.2. Choose a VPN server location that best suits your needs
a. View available locations:
adguardvpn-cli list-locations
It will show the available VPN server list:
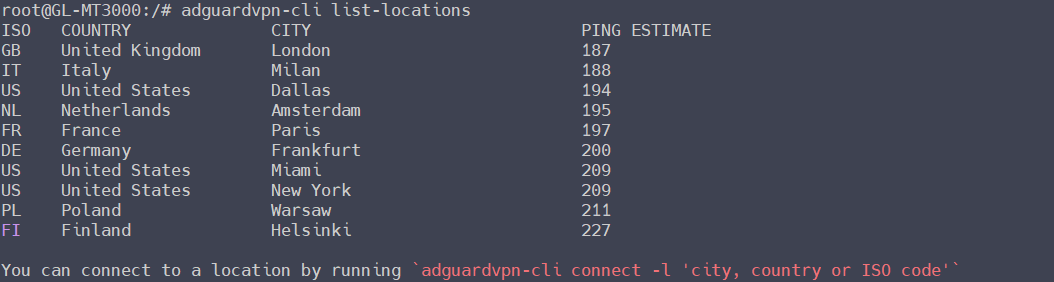
b. Connect to a specific location by adguardvpn-cli connect -l [CITY/COUNTRY/ISO], for example I choose Paris:
adguardvpn-cli connect -l Paris
If ask to set up some configurations, please type yes and enter.

When the Successfully Connected to xxxx appears, indicating that the VPN server is connected successful.
6. Set up firewall rules:
6.1. Add a new unmanaged interface:
uci set network.tun0='interface'
uci set network.tun0.proto='none'
uci set network.tun0.device='tun0'
uci commit network
/etc/init.d/network reload
6.2. Add a adgvpn zone:
uci add firewall zone # =cfg2bdc81
uci set firewall.@zone[-1].name='adgvpn'
uci set firewall.@zone[-1].input='DROP'
uci set firewall.@zone[-1].output='ACCEPT'
uci set firewall.@zone[-1].forward='ACCEPT'
uci add_list firewall.@zone[-1].network='tun0'
uci add firewall forwarding # =cfg2cad58
uci set firewall.@forwarding[-1].src='guest'
uci set firewall.@forwarding[-1].dest='adgvpn'
uci add firewall forwarding # =cfg2dad58
uci set firewall.@forwarding[-1].src='lan'
uci set firewall.@forwarding[-1].dest='adgvpn'
uci add firewall forwarding # =cfg2ead58
uci set firewall.@forwarding[-1].src='wan'
uci set firewall.@forwarding[-1].dest='adgvpn'
uci set firewall.@zone[-1].masq='1'
uci commit firewall
/etc/init.d/firewall reload
6.3. If you want to disable all traffic that is not protected by VPN, please run the following command. This way you won’t have an Internet connection at all if VPN disconnects. If you choose not to do this step, your real IP will be exposed if the VPN disconnects:
uci del_list firewall.@zone[1].network='wan'
uci del_list firewall.@zone[1].network='wan6'
uci del_list firewall.@zone[1].network='wwan'
uci commit firewall
/etc/init.d/firewall reload
If you’ve changed your mind and want to allow direct (all other) traffic, run the following command:
uci add_list firewall.@zone[1].network='wan'
uci add_list firewall.@zone[1].network='wan6'
uci add_list firewall.@zone[1].network='wwan'
uci commit firewall
/etc/init.d/firewall reload
7. Disable the policy routing
Notice: this step is only required in GL firmware is v4.8.0 and above. After executing the commands, you will not be able to use the WireGuard and OpenVPN client in the GL GUI.
If v4.7.x and below, this step is not required.
uci set route_policy.global.enabled="0"
uci commit route_policy
rtp2.sh
8. Set up automatic launch AdGuard VPN after rebooting/starting the router
8.1 create a file at /etc/init.d/adguardvpn
vi /etc/init.d/adguardvpn
And write the following into the file:
#!/bin/sh /etc/rc.common
# Example script
# Copyright (C) 2007 OpenWrt.org
START=99
STOP=99
HOME=/root
start() {
        /opt/adguardvpn_cli/adguardvpn-cli connect
}

stop() {
        /opt/adguardvpn_cli/adguardvpn-cli disconnect

}
8.2 Run this to grant access and automatically launch AdGuard VPN after router system starts for 60 secs (*1):
sed -i '/^exit 0$/i sleep 60\n/etc/init.d/adguardvpn restart\n' /etc/rc.local
chmod +x /etc/init.d/adguardvpn
/etc/init.d/adguardvpn enable
/etc/init.d/adguardvpn restart
9. Set up custom DNS server in GL GUI
For example, choose the AdGuard DNS: 94.140.14.140 in GL GUI > System > DNS

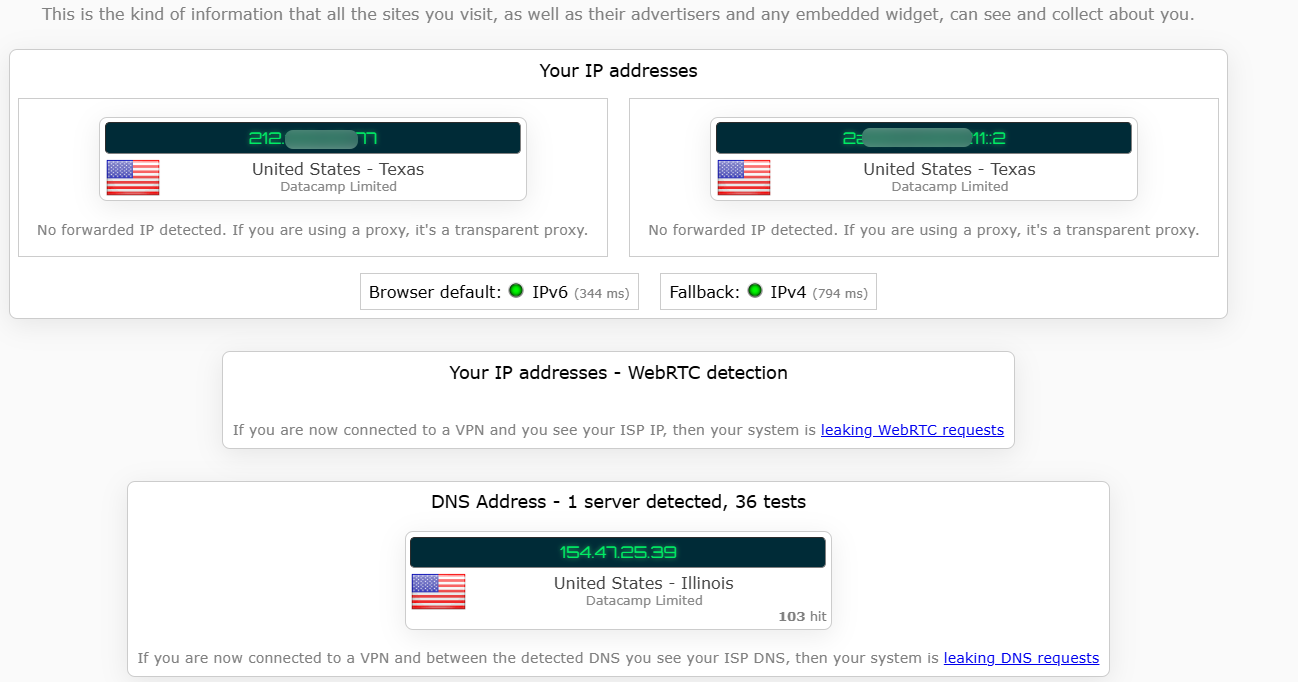
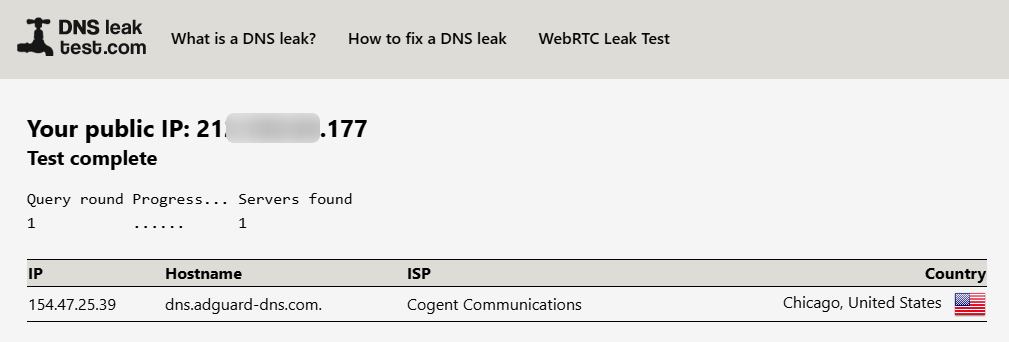
10. Verify that the ADG VPN tunnel is working properly, and there is no DNS leak:
11. Some common commands
At this point, your router has completed the installation and initial configuration of AdGuard VPN.
The following are some commands you'll need for daily use:
# Check the current running status of AdGuard VPN
adguardvpn-cli status

# ↑ Note: ignore warning: "System DNS could not be configured. DNS queries may bypass the VPN tunnel".
#   Refer to the DNS test results from the online website mentioned above.

# Quick connect
adguardvpn-cli connect

# Switch VPN node
adguardvpn-cli list-locations
adguardvpn-cli connect -l [city/country/ISO code]   #like: adguardvpn-cli connect -l Ital

#Stop VPN:
adguardvpn-cli disconnect

#What CLI commands support?
adguardvpn-cli help

#Restart service:
/etc/init.d/adguardvpn restart

#Disable automatic launch:
/etc/init.d/adguardvpn stop
-end
1. Why launch the ADGuard VPN need to wait 60 secs?
Some users may use "repeater" as the router WAN. After the system reboot/start up, it takes time to let repeater scan and connect to primary WiFi. If the ADGuard VPN CLI does not wait 60 secs, the ADGuard VPN CLI initiates a connection attempt before the repeater completed the connection. If the repeater has not yet completed the connection, the ADGuard VPN is unable to connect to server, and it no longer reconnects. You need to manually execute adguardvpn-cli connect
2. Partly refer to ADGuard VPN official docs.
3. If you need to back to use the WireGuard/OpenVPN client in GL GUI, please stop&disable ADGuard VPN and recover policy routing first:
sed -i '/^sleep 60$/,+1d' /etc/rc.local
/etc/init.d/adguardvpn stop
/etc/init.d/adguardvpn disable
uci set route_policy.global.enabled="1"
uci commit route_policy
rtp2.sh