Ok, when I first got a couple of B1300s I had a lot of problems getting the mesh setup.
I recently ended up getting a third node for a bit more coverage and maybe took a bit more time to set it up.
In the end, I think all the initial issues I had with the mesh was basically just being too impatient. Instead of waiting for things to setup I’d go “it’s not working” and reset everything. The third node connected first time.
Keep in mind too this post here
Here’s my Amazon review that’s waiting for Amazon to approve.
Hopefully it helps someone ![]()
p.s. next might be to see if it supports ethernet backhaul ![]()
"So having had a number of Gl.iNets travel routers that have worked fantastically, I decided to stay with Gl.iNet for my home system, the major drawcard being that they are OpenWRT based. This means I’m not stuck with a proprietary firmware (though there is some Gl.iNet specific stuff on them in terms of interface and packages (which I could remove) ) that doesn’t do what I want or never gets updated and also that I can load or unload any of the OpenWRT repository packages as I see fit (adblock, WMan3, VPN, SQM, Transmission, Open VPN, Wireguard…) . It’s worth noting too that these units use the same mesh system as all the other offerings out there; Qualcomm’s Wi-Fi SON (Self-Organizing Network)
For any Gl.iNet product I buy I always upgrade the firmware to the latest “testing” firmware. Units can sit in stock for a while and be (very) out of date. This means if you run them as you get them you might not have all the fixes and enhancements. That was certainly the case with this purchase, the firmware was very old (actually even a previous version) .
As mentioned in another review, the documentation is a bit lacking about meshing, the basics are there but perhaps not the detail. After mucking around here’s what I’ve found to work:
1. Connect your router to the master node via it’s WAN port and setup as indicated in in the documentation
2. Connect a device to the master node and go to 192.168.8.1 (the default ) IP to get the Web Admin Panel and note that the second line item on the left hand menu is “Wireless”
3. On the master node press the right hand side of the button on the front (the mesh button) and after 5 flashes it will start to flash a bit quicker, release the button.
4. On the slave node (which you don’t even have to setup first), push the mesh button and again after 5 flashes it starts flashing quicker, release the button.
5. Wait… I thought I had some bung units initially because nothing would happen so I’d reset the routers and start again. Setup of the mesh takes a little bit of time. Patience grasshopper, patience!
6. Keep an eye on the Web Admin Panel of the master node. Refresh the page a few times. You will note that the “Wireless” changes to “Mesh”
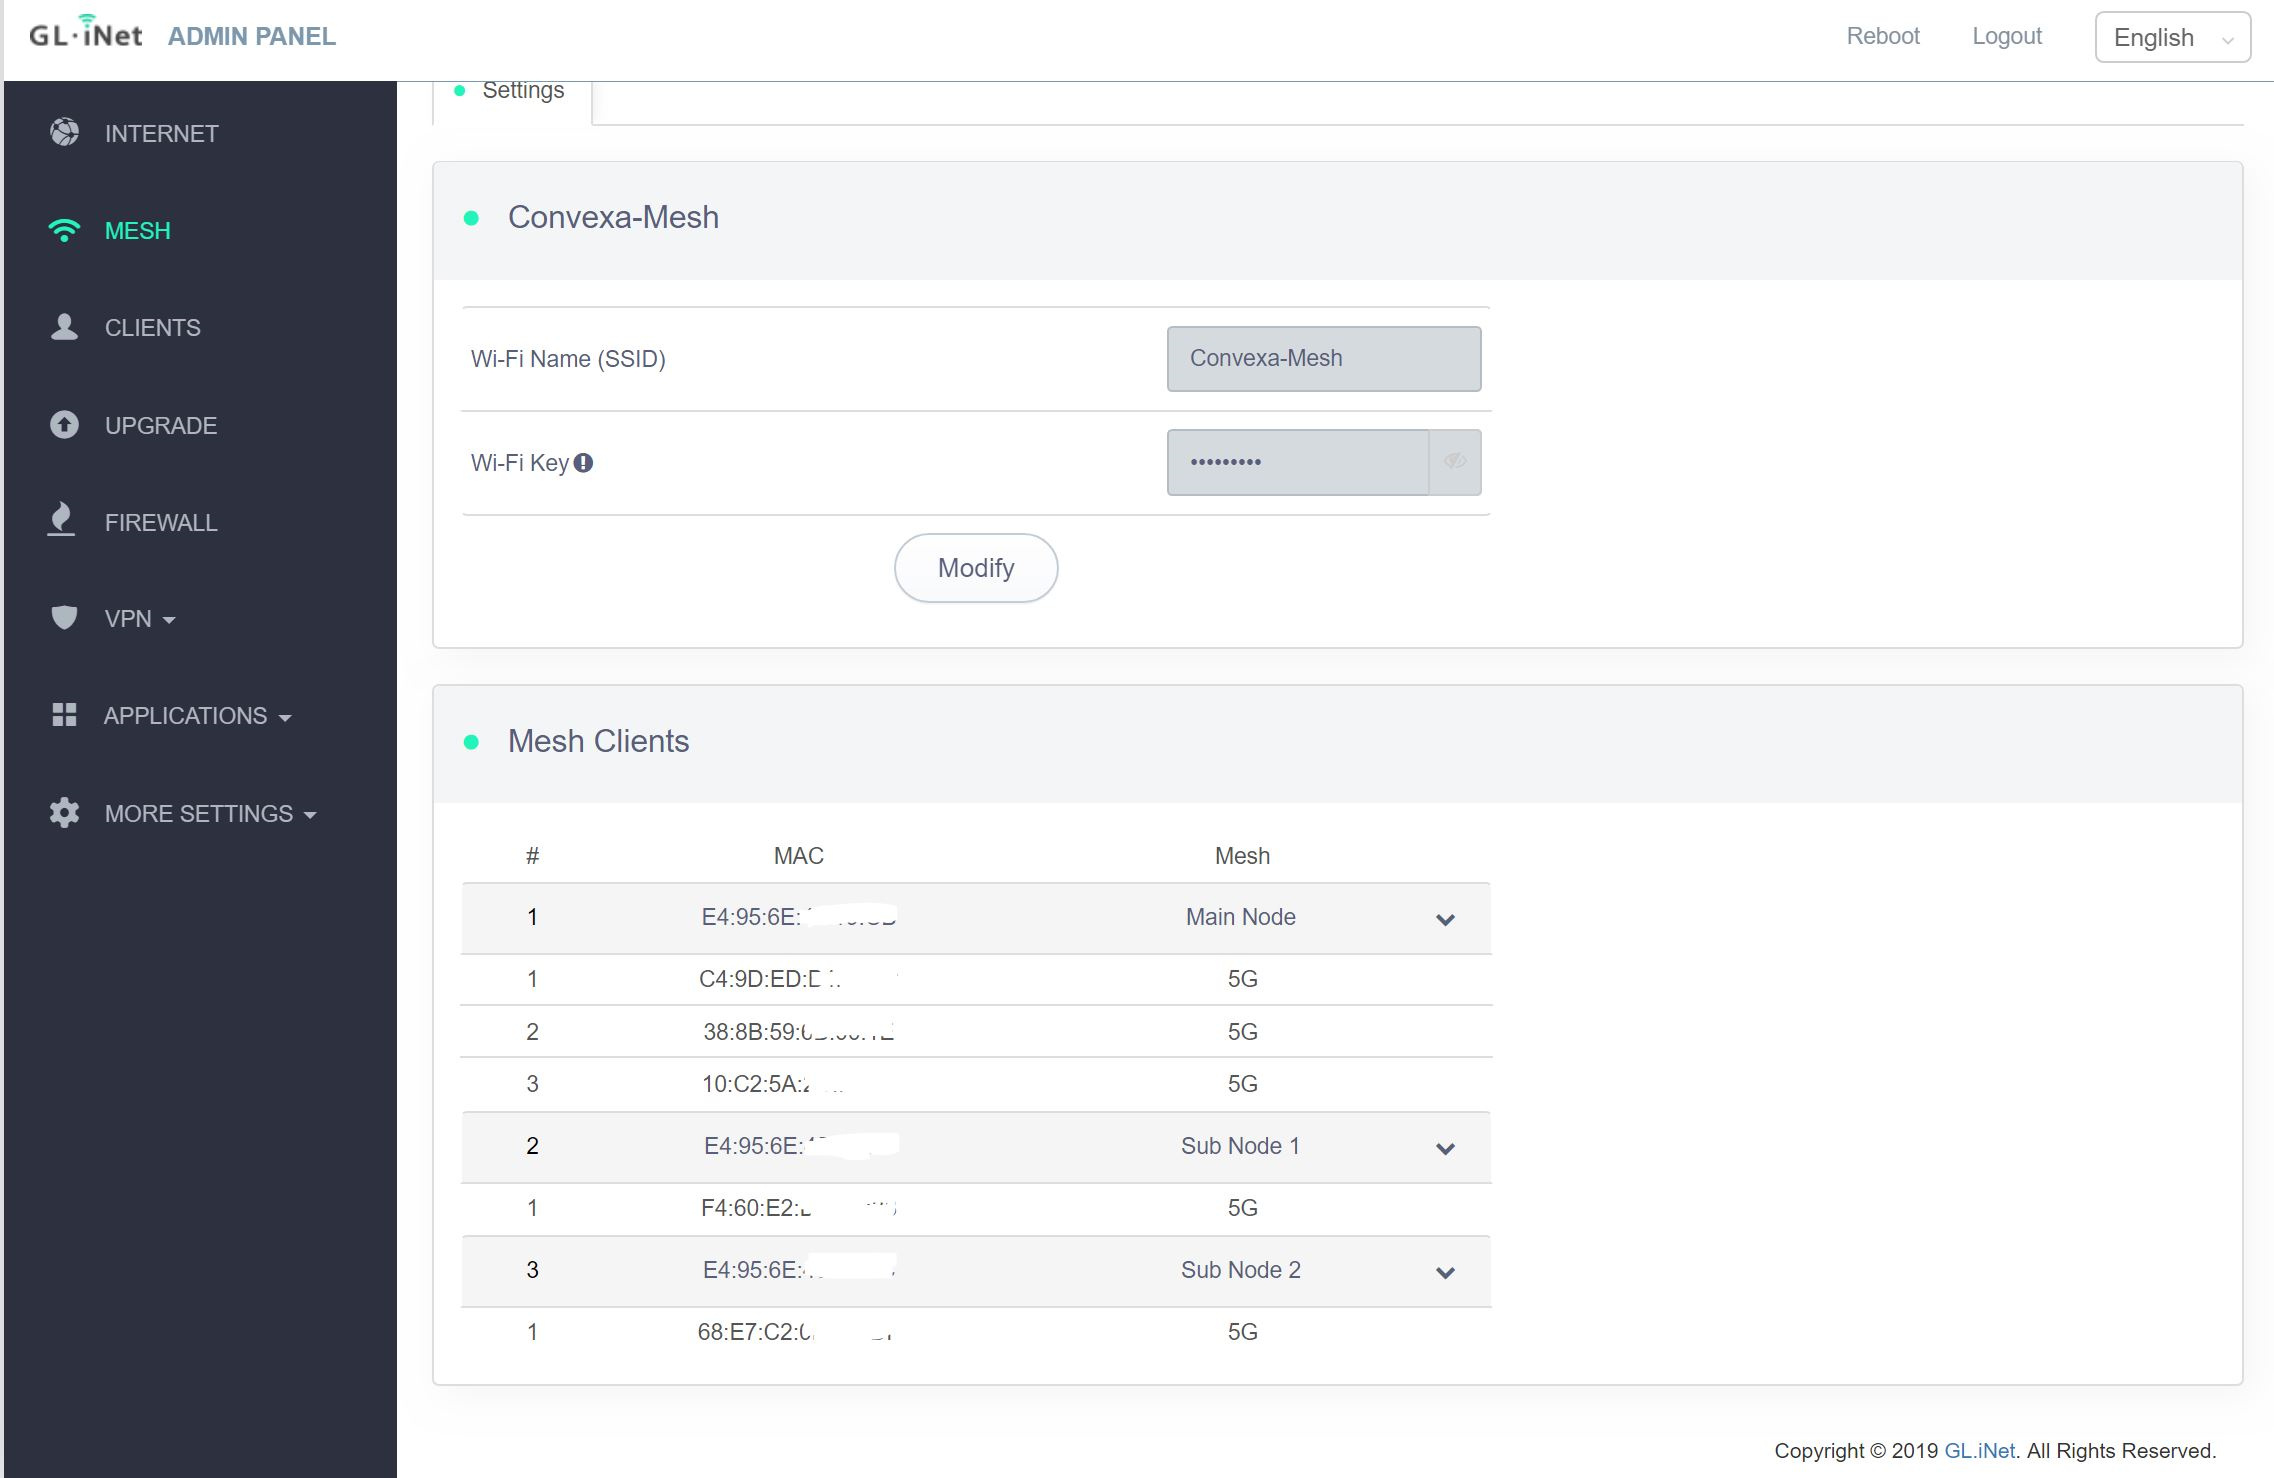
7. Click on “Mesh” on the web interface and you should eventually see “Main Node” and “Sub Node 1”.
8. You now have a mesh.
9. If you want to add another node, repeat steps 3-7 and you should on the web interface, eventually see “Sub Node 2”
There’s a pic attached that shows some of the stuff I’m talking about.
So what’s the big advantage of the mesh system rather than using multiple repeaters?
1. Single point of management (on the Master node)
2. I can see all my clients on my network and which node they’re attached to which you can’t easily do with repeaters
3. I have a single network with a single name. I don’t have to pick 2.4Ghz or 5.0Ghz the client picks the “best” frequency (not always the case, will depend on your client). No more multiple SSIDs and having to choose between them (often manually)
4. When standing next to each node I get the same maximum speed as the master node attached to the router.
5. As I move around I can see the WiFi signal drop as I move away from a node and then increase as I approach a node. Pass over appears to be pretty seamless
All in all, after working out the correct procedure (and most of the problem I had were my own impatience) I’ve got a good, robust and flexible mesh system. If you want Open Source, the flexibility that OpenWRT offers and like to tinker (of course you don’t have to) , consider this option."